Step 1: Open Google Analytics & Access Your Shopify GA4 Data Stream
Before you set up conversion tracking, you need to locate your GA4 Data Stream. This is where Google Analytics collects visitor data from your Shopify store. If you’ve already connected GA4 to Shopify once, your stream should be active.
Here’s how to access it:
- Log into Google Analytics.
- Select your GA4 property (linked to your Shopify site).
- Click Admin from the bottom-left sidebar.
- Under the middle column titled Property, choose Data Streams.
- Click on your active website stream (it shows your domain and stream ID).
Screenshot: GA4 stream details page showing Measurement ID and Enhanced Measurement options.
Make sure Enhanced Measurement is toggled ON — this automatically tracks important engagement like scrolls, outbound clicks, and site searches without needing code.
Step 2: Connect Your Shopify Store with GA4 via Google & YouTube Sales Channel
To track eCommerce events in GA4, you need to connect Shopify to your Google Analytics property using Shopify’s built-in Google & YouTube sales channel. This creates a seamless bridge between your Shopify store and GA4.
Head over to your Shopify dashboard, click the “+” next to Sales Channels, and choose the Google & YouTube option from the list.
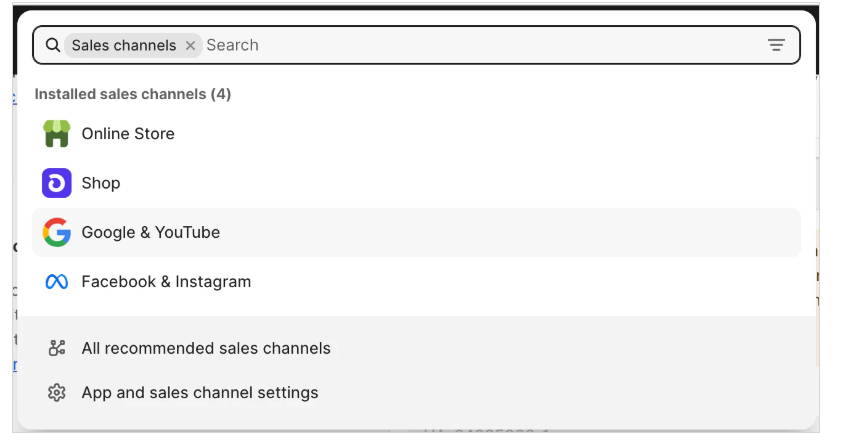
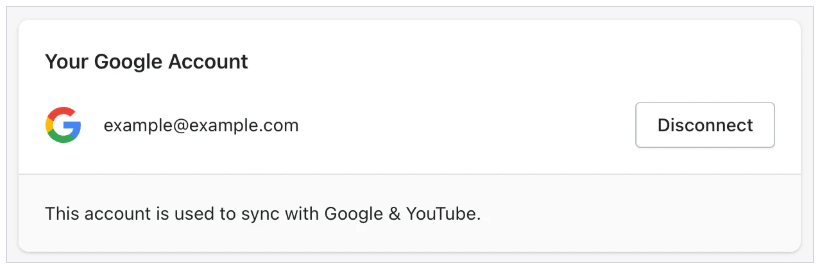
Once added, Shopify will ask you to connect your Google Account that’s linked with your GA4 property. Make sure you log in using the same account you used to set up Google Analytics.
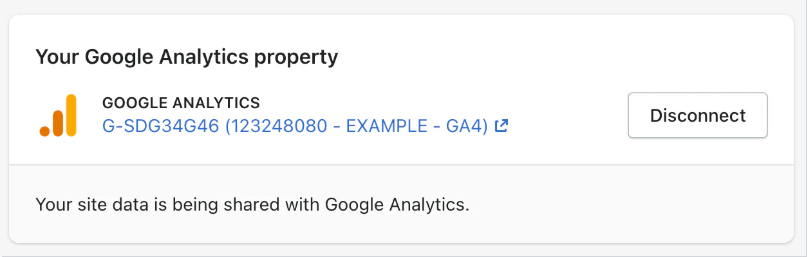
Now, from the dropdown, select your GA4 property. This links your store’s data stream to the right measurement ID in Analytics.
Once connected, Shopify will automatically start sending key eCommerce events to GA4, including:
- page_view – When someone views any page on your store
- view_item – Product view
- add_to_cart – Add to cart button click
- begin_checkout – Checkout started
- purchase – Order completed
However, Shopify’s built-in GA4 integration does not track events like refunds, remove_from_cart, or view_cart. You’ll need Google Tag Manager or custom tracking code to handle those.
Want to explore Shopify’s official documentation? Check this reference: Google Analytics Ecommerce Tracking ↗
Step 3: Enable Enhanced Measurement in GA4 for Your Shopify Store
Once your GA4 property is connected in Shopify, the next important step is to ensure Enhanced Measurement is enabled. This setting allows GA4 to automatically track user actions like scrolls, outbound link clicks, video engagement, and site search without custom coding.
In your Google Analytics account, go to Admin → Data Streams → Web, and select your stream. Scroll down to the “Enhanced Measurement” panel. Ensure the toggle is turned ON. If needed, click the ⚙️ icon to customize what’s tracked automatically.

Screenshot: Make sure Enhanced Measurement is enabled to automatically track key interactions in GA4.
These automatically tracked events help you better understand customer journeys on your Shopify store without extra setup. Later, you can combine them with custom events or conversion goals.
Step 4: Mark Key Events as Conversions in GA4 (e.g. Page Views, Clicks)
Once your events are flowing into GA4 from Shopify, the next step is to mark the most important ones as conversions. This tells Google Analytics which actions matter most to your business — such as visits to your checkout, product clicks, or even scrolls.
In GA4, go to Admin → Events under your property settings. You’ll see a table of all automatically tracked events. To mark an event as a conversion, simply toggle the switch in the "Mark as key event" column.
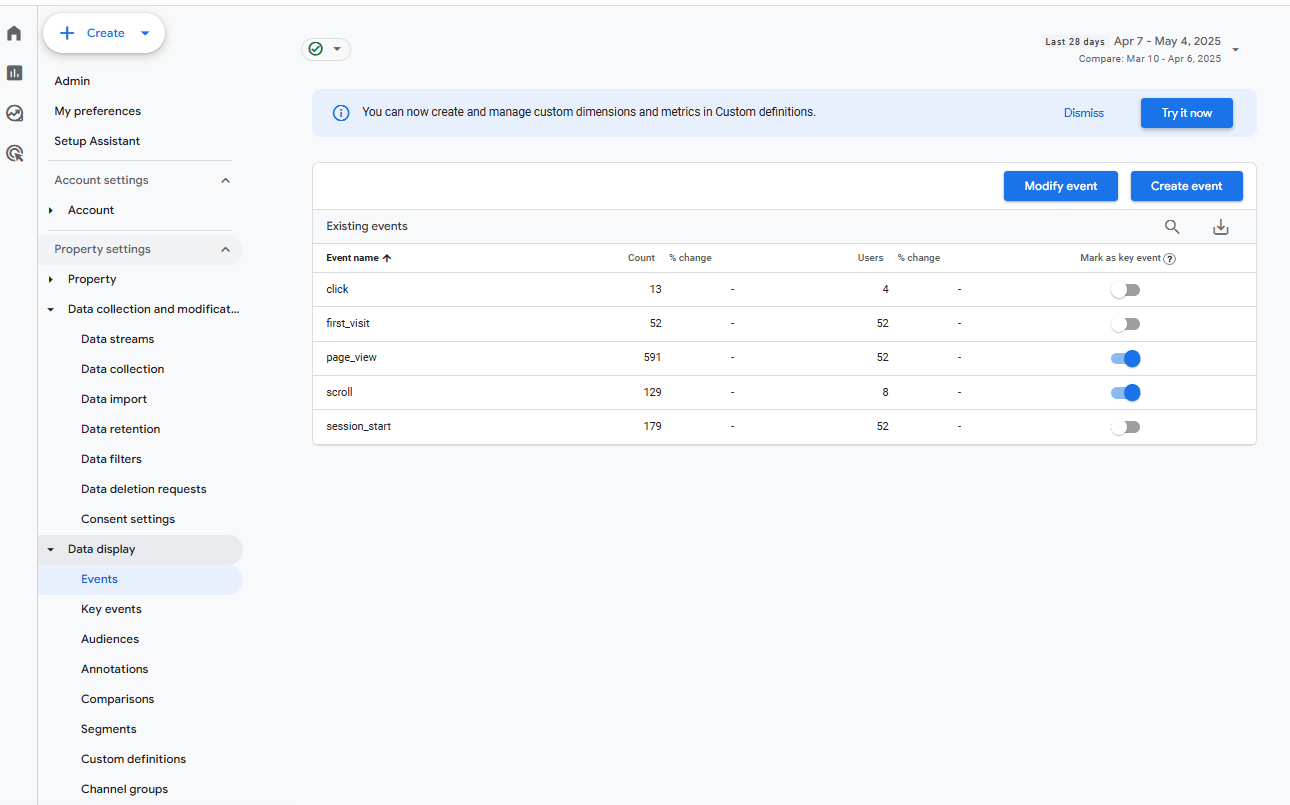
Screenshot: Marking important Shopify actions like clicks and scrolls as conversions in GA4.
Common Events & What They Track
| Event Name | What It Tracks | When to Mark as Conversion |
|---|---|---|
| page_view | Visitor lands on any page of your store | Useful for tracking top-funnel traffic from ads or SEO |
| click | A user clicks a link or button | Great for tracking CTA buttons, add-to-cart clicks |
| scroll | User scrolls 90% down a page | Signals deep content engagement |
| add_to_cart | Item added to shopping cart | Highly recommended for all e-commerce stores |
| purchase | Completed order | Always mark this as a conversion |
Pro Tips:
- Only mark events that signal actual value for your business (e.g. leads, product views, checkouts).
- Don’t mark too many events — keep your focus on 3–6 meaningful conversions for better insights.
- You can rename or modify events under Admin → Events before toggling them as conversions.
- Use tools like Google Tag Manager for custom conversions if GA4 default events aren't enough.
Step 5: Create a Custom Event in GA4 to Track Shopify-Specific Actions
If Shopify doesn’t automatically send the event you care about—like a particular button click, upsell view, or post-purchase action—you can create a custom event directly within GA4 without touching code. This is especially useful if you're using third-party apps, custom scripts, or unique flows.
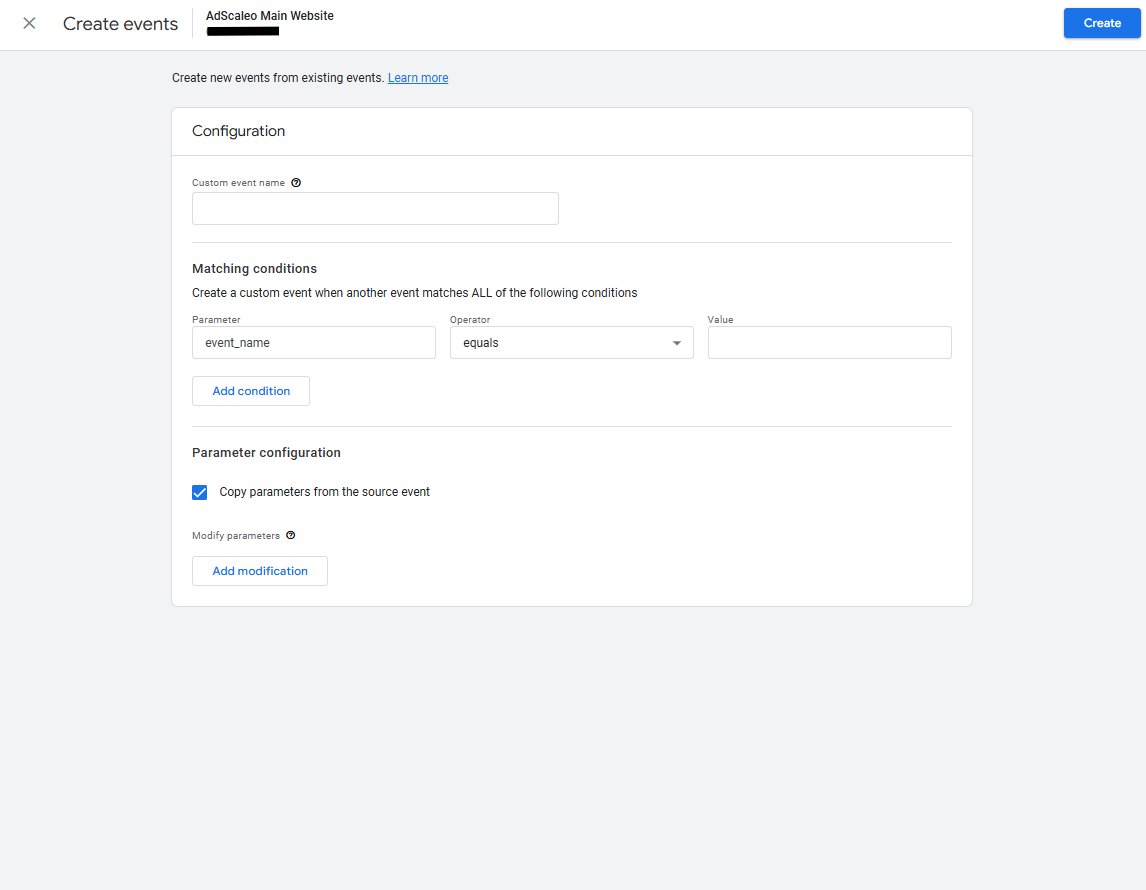
Screenshot: Use GA4's event builder to track advanced Shopify store actions like clicks, forms, or upsell views.
How to Set Up a Custom Event in GA4
- Go to your GA4 Admin panel and click on Events under the "Data Display" section.
- Click Create Event.
- Enter a clear Custom Event Name, like
thankyou_clickorupsell_view. - In Matching Conditions, set
event_nameequals to the base event (e.g.clickorpage_view). - Optionally, add extra filters using page_location or element_text to narrow the condition.
- Leave Parameter Configuration as is (default is copy).
- Click Create.
Pro Tips for Shopify Store Owners
- Use custom thank you pages or landing pages to trigger conversion events more cleanly.
- Combine with Google Tag Manager if the event is not firing by default in GA4.
- Name your events clearly. This helps later during reporting, conversion tracking, or ad optimization.
- Mark the custom event as a conversion (see Step 4) if it's a valuable action.
Creating custom events is one of the most powerful GA4 features. Even without dev support, you can track nearly any user behavior and gain full visibility into your Shopify sales funnel.
We help small businesses grow with Shopify optimisation, SEO, paid ads and analytics—using clear strategy, clean implementation and transparent reporting.